Open Settings, then Fields
On screenFields
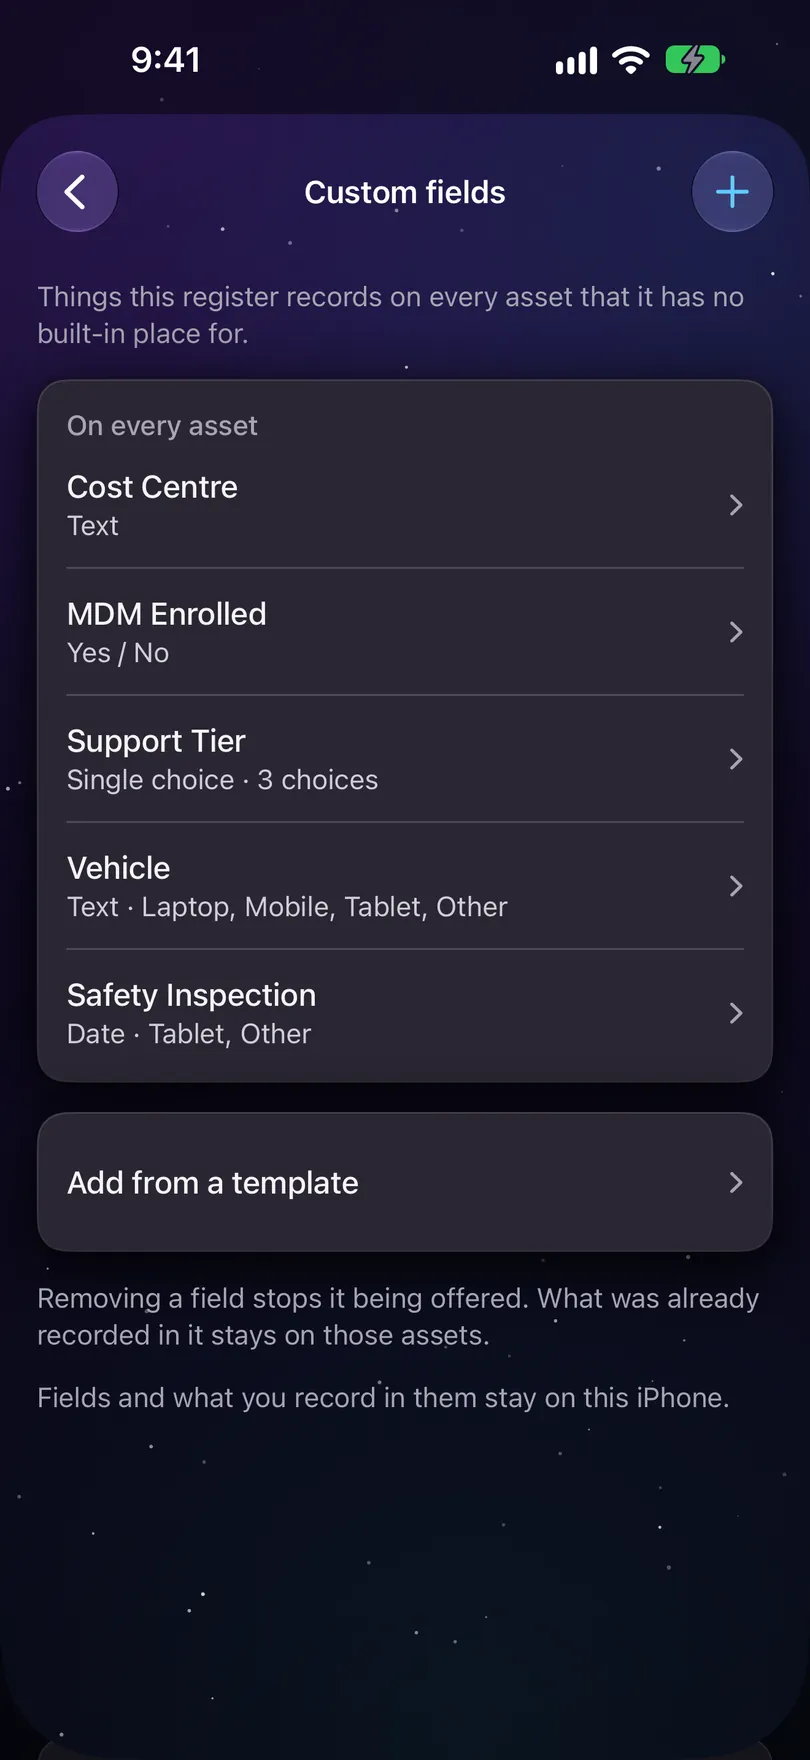
Settings is the gear at the top of Home. Fields is in the register's group, and the screen it opens is bigger than custom fields used to be: Show assets by first, then every built-in field with its rules, then your own, with a + at the top.
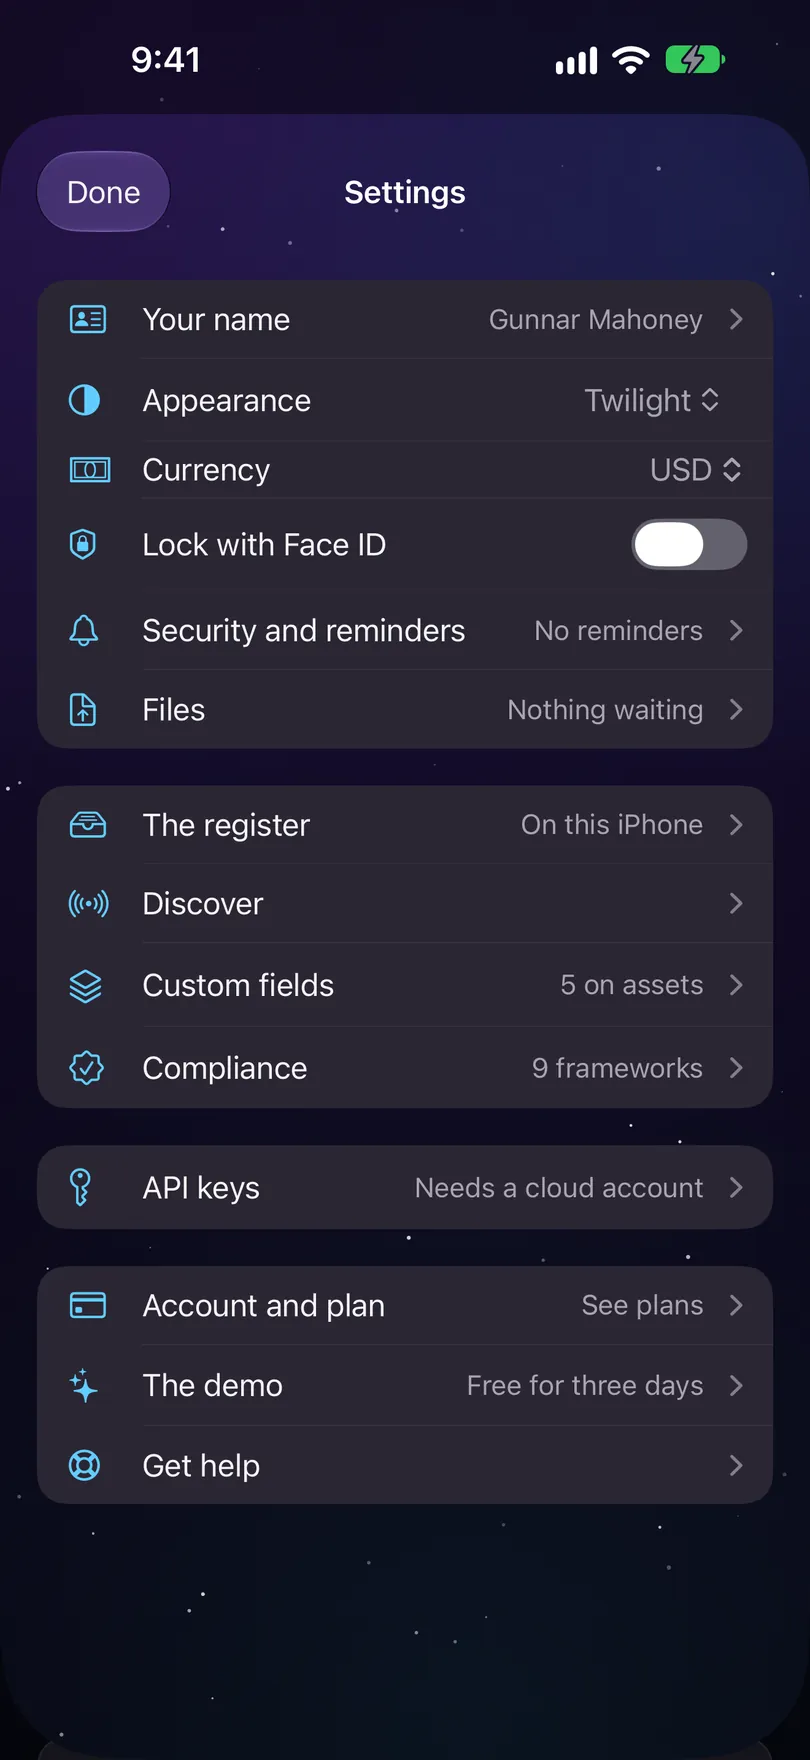
Settings. The mode band first, and Fields holds the custom fields. Built-in fields have two rules, set here
On screenShown · Required
Every field the register records on an asset is listed, grouped the way the record groups them. Shown decides whether a field is offered when adding and drawn on the record even when empty; Required decides whether adding by hand needs it. The switches are the register's rules, not this phone's: a change here reaches every Mac and iPhone.
Fields. Every field the register records, and the rules for each. Add a field of your own
On screenName · Type
Tap the +, or Add a field. Give it a name and pick a type: Text, Number, Date, Yes / No, or Single choice. Under the name you'll see what it's recorded as, which is the key it's saved under in exports — the name can change later, the key can't, because every value already recorded is filed under it.
For a choice field, add the choices
On screenAdd a choice
Single choice needs at least one. Tap Add a choice for each. Add stays unlit until the field has a name and, for a choice field, a choice.
Say where values go, and which assets it's for
On screenKeep off Starkive Cloud · Offered on
Under Where values are kept, turn on Keep off Starkive Cloud if what people type here should never go to the cloud: values then stay on this iPhone and your paired Mac, while the field's name and choices still sync so every device knows it exists. Leave it off and values are sealed on the phone before they sync. Under Offered on, tick the kinds of asset it belongs on, or none for every asset.
Tap Add
On screenAdd
The field shows up straight away on the records it's offered on, and on New asset. You can rename it or change its choices later by tapping it. The type stays as it is, because values already recorded were typed as that type.
Or start from a template
On screenAdd from a template
Under your fields, tap Add from a template and pick a kind: Laptops and desktops, Phones and tablets, Monitors, Servers, Network gear or Printers. Turn on the fields you want, rename any of them, and tap Add. Phones and tablets include IMEI. Phone number and Remote management address start kept off Starkive Cloud.
Fill it in on a record
On screenCustom fields
Open any asset. Custom fields sit in the bands of the record's one card, in the group the field belongs to — a field your admin has shown under Identity sits with Identity, not in a box of its own. Tap one to fill it in: a keyboard for text and numbers, a calendar with Record today and Clear this date, or a list for Yes / No and choices.
Save, and check Activity
On screenSave 1
It saves like any other change, with Save 1. The Activity band shows the change by the field's name, like Host Name going from empty to web-01.
Removing a field
On screenRemove this field
Tap the field in Settings → Fields, then Remove this field, and confirm. It stops being offered on new and existing assets. What was already recorded in it stays on those assets.
Stuck on a step, or a screen here does not match the one in front of you? Write to support@depaloconsultingllc.com and say which step. The app moves faster than this page does.